Full stack with Rust: axum + leptos + tailwind.css
Leptos is a production-ready full stack server written in rust that brings component reactivity, server functions and rust's type safety without needing to know Javascript

When stepping out of my comfort zone in data, in my mind I had two clear objectives and one condition: broaden my profile to data + full stack, learn a language useful in the data world and I need to avoid Javascript. This last part let's say it's because of its inconsistencies.

While ruby on rails appealed to me as full stack technology, it's a language rarely use in the environment so investigating a bit I decided to focus on what Rust had to offer. There are several data libraries being developed in it, and let's be hones, it's the hot language.
There are multiple libraries for API servers but just a couple for full stack. One of them is Leptos, the one I decided to try due to it's great book.
Basically Leptos gives you a mixture of HTML + Rust resulting in
- Reactive components (don't refresh the entire page)
- Type safety (even in HTML!)
- Server functions that convert to API endpoints automatically
It sounds good, so how do we try it?
cargo install cargo-leptos
cargo leptos new --git leptos-rs/start-axum

# Introduce your project name and cd into the created directory
cd your_project_dir

# Rust nightly
rustup toolchain install nightly
rustup target add wasm32-unknown-unknown


cargo leptos watch
So now for the first step: making things look nice.
Adding tailwind for beautiful style
This comes the tricky part. Leptos provides a couple of examples that you can start from (tailwind_axum, tailwind_actix, tailwind_csr) , but you might face the same issue as me when adapting them to your project.
The simplest option would be to use a CDN and add the library as a script. While this is OK for development, it's not the best choice for production since clients will download the entire tailwind library.
The best option is to benefit from tailwind's intelligent compilation that will generate a CSS file with only the classes you used. This way we'll have a smaller size.
Here are the detailed steps:
- Install Tailwind
# I assume you have npm or similar
npm install tailwindcss
2. Create the file style/tailwind.css and add the following content:
@tailwind base;
@tailwind components;
@tailwind utilities;
3. Create a tailwind.config.js
/** @type {import('tailwindcss').Config} */
module.exports = {
  content: ["*.html", "./src/**/*.rs",],
  theme: {
    extend: {},
  },
  plugins: [],
}
4. Update Cargo.toml
...

[package.metadata.leptos]
# The name used by wasm-bindgen/cargo-leptos for the JS/WASM bundle. Defaults to the crate name
output-name = "your_crate_name"  # Note this value here!!
 ...

# IMPORTANT! Remove or comment-out
# style-file = "style/main.scss"

# Activates the tailwind build
tailwind-input-file = "style/tailwind.css"
tailwind-config-file = "tailwind.config.js"

...
Cargo.toml important items
5. Update src/app.rs to use tailwind.
Make sure this matches the value you had in
Cargo.tomloutput-name = "your_crate_name"<Stylesheet id="leptos" href="/pkg/your_crate_name.css"/>It seems all CSS gets saved to this file.
use crate::error_template::{AppError, ErrorTemplate};
use leptos::*;
use leptos_meta::*;
use leptos_router::*;
#[component]
pub fn App() -> impl IntoView {
// Provides context that manages stylesheets, titles, meta tags, etc.
provide_meta_context();
view! {
// injects a stylesheet into the document <head>
// id=leptos means cargo-leptos will hot-reload this stylesheet
// Stylesheet name is the CRATE NAME by default!!!
<Stylesheet id="leptos" href="/pkg/your_crate_name.css"/>
// sets the document title
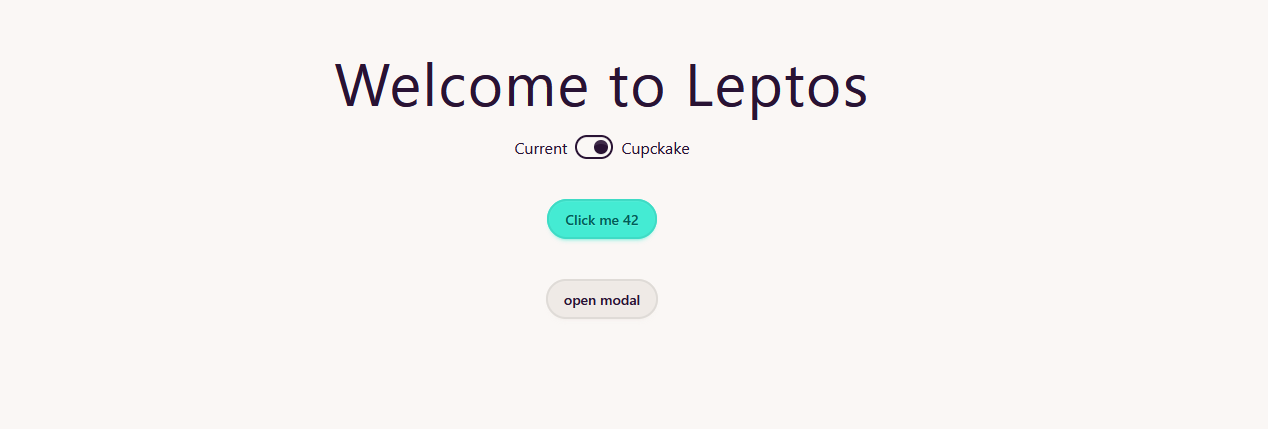
<Title text="Welcome to Leptos"/>
// content for this welcome page
<Router fallback=|| {
let mut outside_errors = Errors::default();
outside_errors.insert_with_default_key(AppError::NotFound);
view! {
<ErrorTemplate outside_errors/>
}
.into_view()
}>
<main>
<Routes>
<Route path="" view=HomePage/>
</Routes>
</main>
</Router>
}
}
/// Renders the home page of your application.
#[component]
fn HomePage() -> impl IntoView {
// Creates a reactive value to update the button
let (count, set_count) = create_signal(0);
let on_click = move |_| set_count.update(|count| *count += 1);
view! {
<Title text="Leptos + Tailwindcss"/>
<main>
<div class="bg-gradient-to-tl from-blue-800 to-blue-500 text-white font-mono flex flex-col min-h-screen">
<div class="flex flex-row-reverse flex-wrap m-auto">
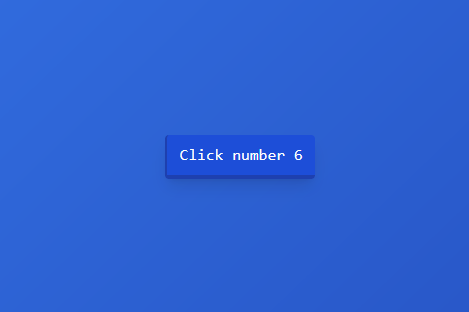
<button on:click=on_click class="rounded px-3 py-2 m-1 border-b-4 border-l-2 shadow-lg bg-blue-700 border-blue-800 text-white">
"Click number " {count}
</button>
</div>
</div>
</main>
}
}src/app.rs
In other pots I'll talk more about how to use it. But for now read their book!

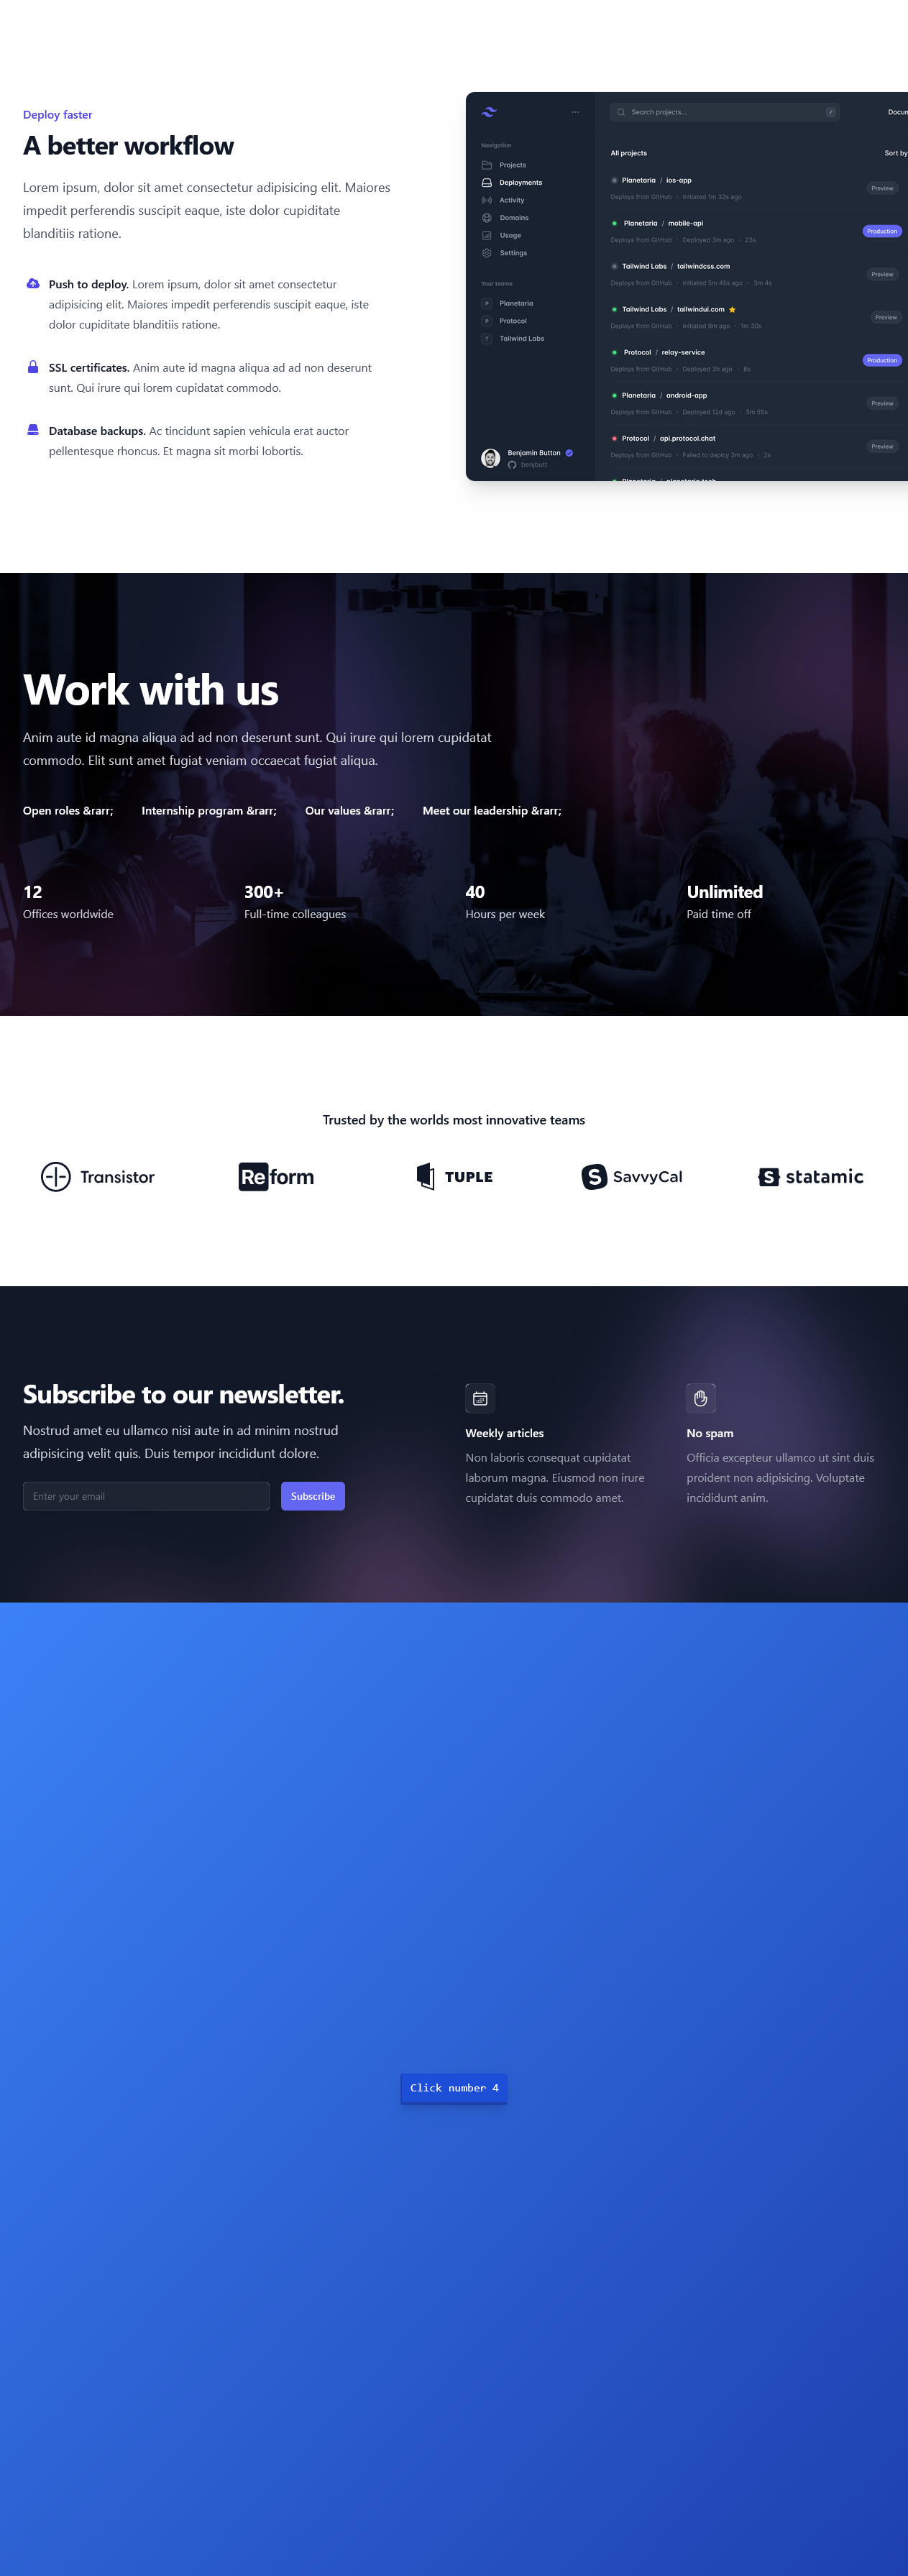
Extra: tailwind components
Now you can use any of the tailwind components in your leptos fronted. There are some free and others via a one-time payment (what a good plan these days...)


![Leptos: rust full stack [Code + Slides + Video]](/content/images/size/w600/2025/12/leptos-talk.png)